Networking
File Sharing
Sharing the Public Folder
There is a very simple way to share files and folders with other users without using a homegroup, which makes this a simple solution if your network includes computers running older versions of Windows.
The trick is to use the folder named \Users\Public on the drive that contains Windows. If you enable Public Folder Sharing, this folder will be readable and writable by everyone on the network. To enable sharing the Public folder, follow these steps:
- Click the network icon in the taskbar and select Open Network and Sharing Center; or click Start, Control Panel, View Network Status and Tasks (under Network and Internet).
- Click Change Advanced Sharing Options.
- Locate Public Folder Sharing, and select Turn On Sharing. Then click Save Changes.
This makes the folder available to anyone who can connect to your computer over the network.
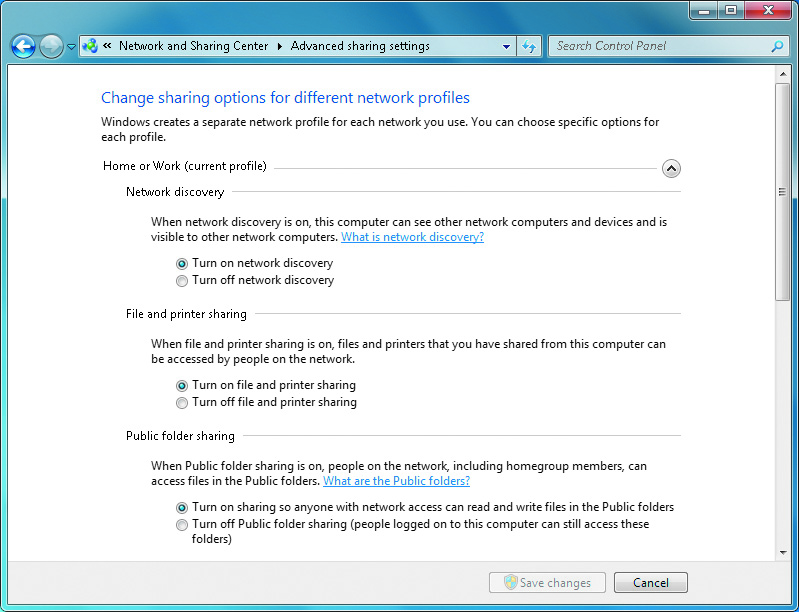
The options for sharing the Public folder include:
- Turn on sharing so anyone with network access can read and write files on the Public folder
- Turn off sharing
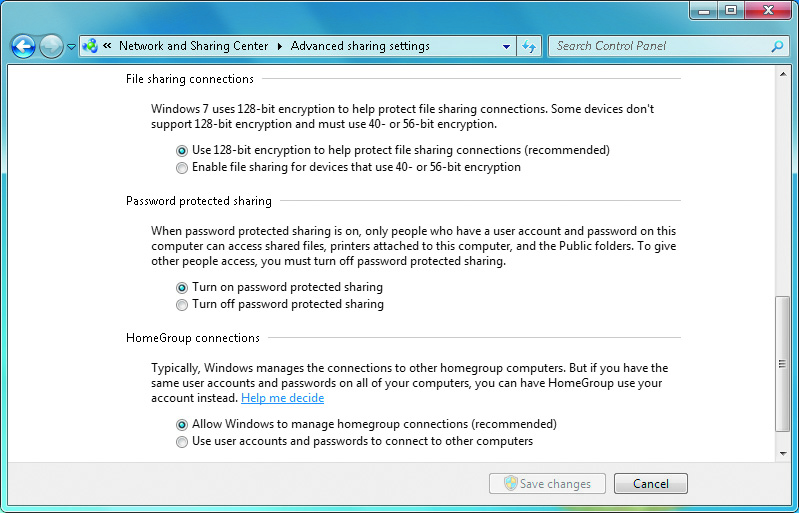
The options for password protected sharing related to the Public folder include:
- Turn on password protected sharing
- Turn off password protected sharing