Disaster Recovery and Troubleshooting
Windows Backup and Restore
File Backup
To set up a backup, choose the Set Up Backup link to launch a wizard that takes you through the process of creating a backup.
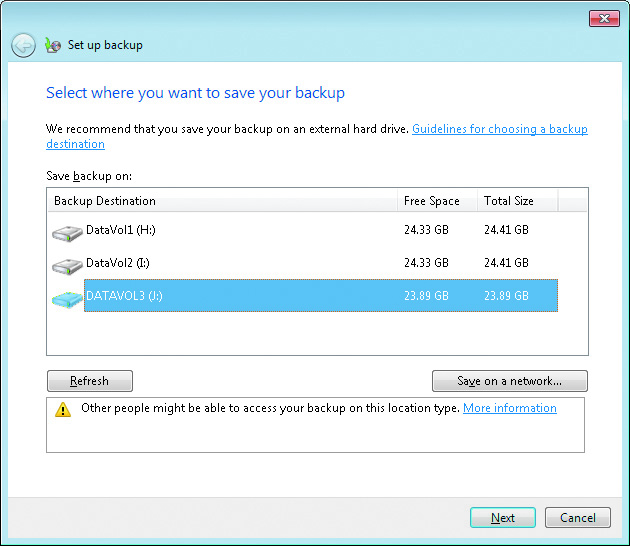
- The Backup wizard first asks you for a location to save your backup. This location can be a hard disk (removable or fixed), a CD, a DVD, or even a network location (if you have Windows 7 Premium or Ultimate).
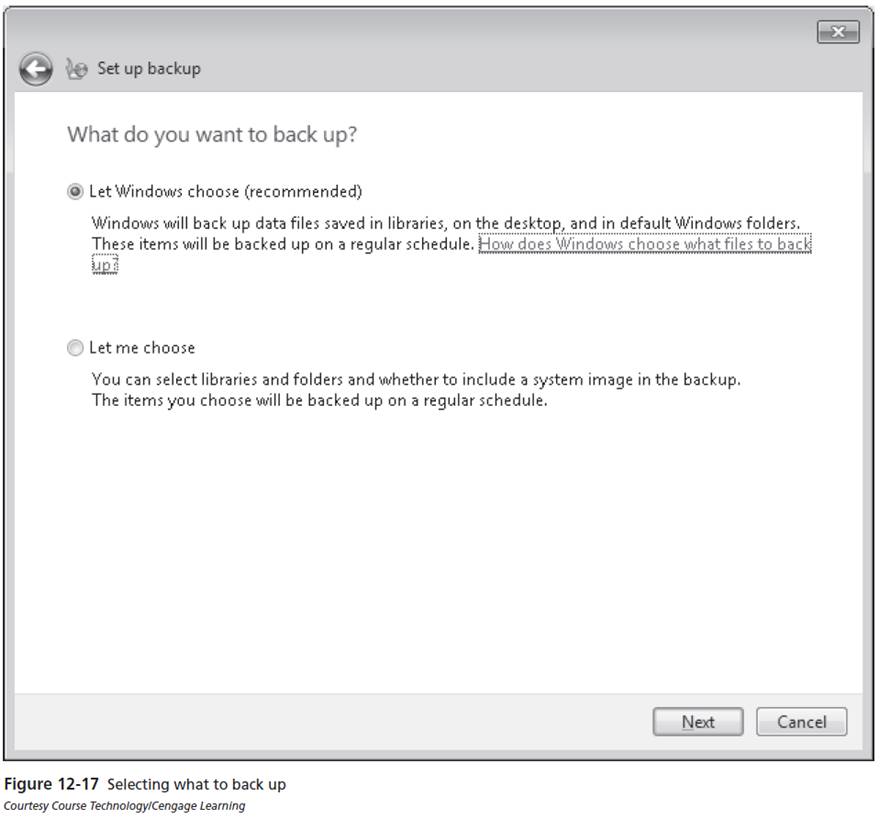
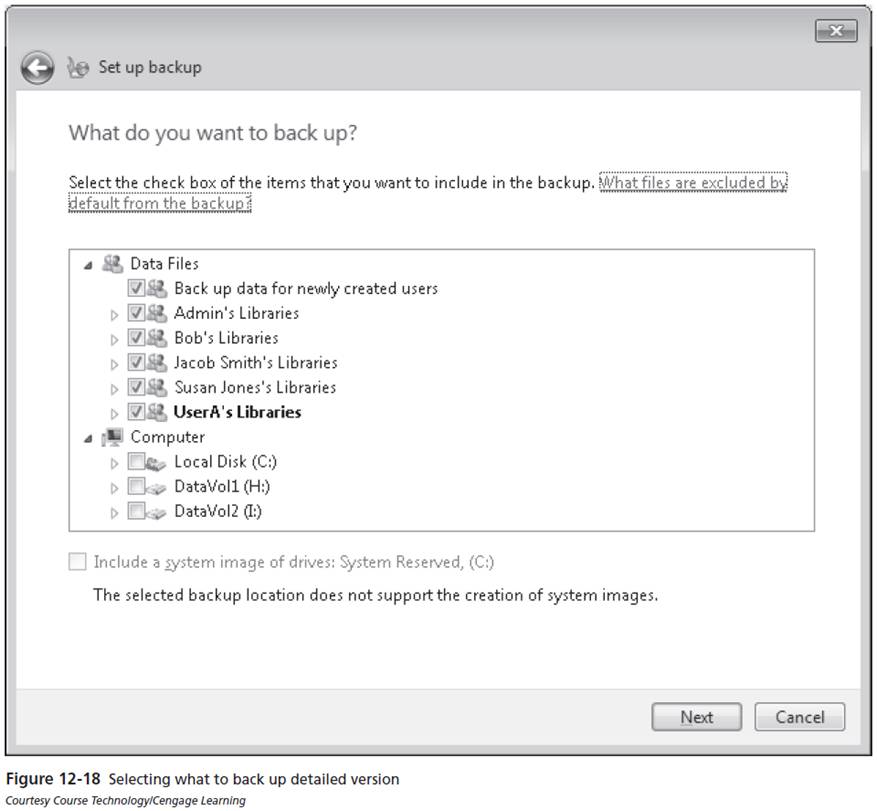
- Next you are asked to either let Windows 7 choose the files and folders to back up or let you manually select the resources you want to back up. In manual selection, you can choose just the data libraries of Windows 7 for you as a user, or other users. You can also choose to create a backup of the Windows 7 systems files. If you want to choose other files and folders, you have the option of selecting any resources individually on your hard disk(s).
- The final page of the wizard allows you to view the items you have selected as well as set up a schedule for your backups to occur. If you're happy with the setup, click the Save Settings And Run Backup button. The backup commences and you are able to restore the resources if necessary in the future.
The backed-up files are stored in the target location using a complex folder structure that identifies the computer and the date and time that the data was stored. Compressed files are used to store the collected data to maximize the backup location's storage space. The backup folder structure is not to be browsed directly.