Disaster Recovery and Troubleshooting
Windows Backup and Restore
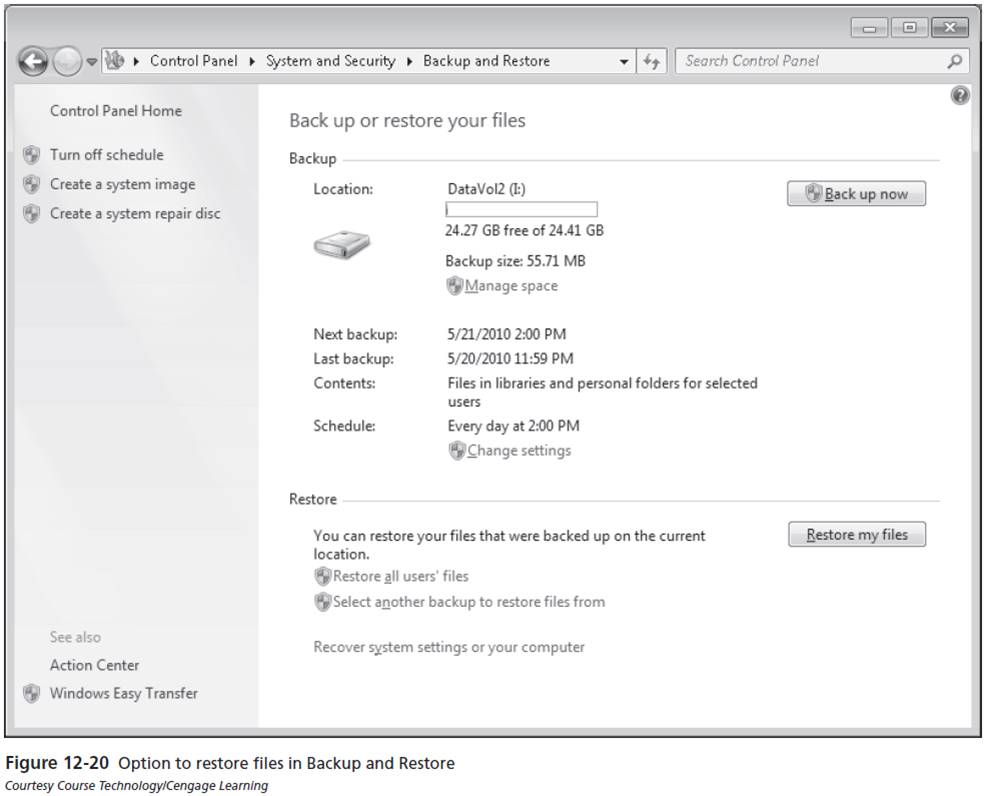
Create a System Image
Create a System Image
- To create a system image and System Restore image backup,
click the Create a system image link from the Backup and
Restore control panel. Select the location
for the backup-a hard disk, DVD or to a network location. Click Next. Choose the appropriate files and
folders to back up from the What Do You Want to Back Up?
window and click Next. Review the backup location, the
amount of space needed on the target drive, and the drive to
be backed up, and click the Save Settings and Exit button to
begin.
- If you use DVDs, follow the prompts to label and format the
medium when it is inserted. After the medium is formatted, the
backup process continues. When a backup to DVD is complete,
you are prompted to insert each disc to verify the backup. This
feature is designed to protect you against backup failures
caused by scratched or otherwise defective media.
- When you store a system image on a hard disk, the backup is
not compressed. However, DVD backups are compressed. The
backup is stored in a folder called WindowsImageBackup.
- If you decide to create another system image in the future, you can use the same target drive, and Windows will back up only the files that have changed since the original image backup.
http://windows.microsoft.com/en-US/windows7/Back-up-your-programs-system-settings-and-files.
System Image Recovery
System Image Recovery enables you to perform a "bare metal" restoration from the System Recovery Options menu.
To restore your system from an image, start your system from the Windows 7 DVD. If you're restoring from an external hard disk that contains your system image, ensure it is connected. (If you backed up to DVD, have the media ready.)
- In the initial screen, select the language, time and currency formats, and the keyboard-input method, and then click Next.
- In the next screen, click Repair Your Computer. In the System Recovery Options screen, select the Restore Your Computer Using a System Image that You Created Earlier option, and click Next.
- The Select a System Image Backup screen appears. By default, the most current image backup is listed. To restore from this backup, click Next. To choose an earlier backup, select the Select a System Image option, click Next, and then select it from the list.
- The Choose Additional Restore Options screen appears. If you are installing to an unformatted hard disk or to a hard disk that is larger than your original, the Format and Repartition Disks check box will be available. Select it and click Next to prepare your hard disk for use.
- When you're ready to continue the restore operation, click Next to view a summary of the restoration settings. If no changes are necessary, click Finish. The restoration process starts immediately if you are restoring from a hard disk connected to the system. If you are restoring from CD, DVD, or other media, insert the media as requested.
When the restoration is finished, the system restarts normally. To get the system back to its most recent configuration, restore file backups made with the Windows 7 Backup and Restore utility or other backup software.